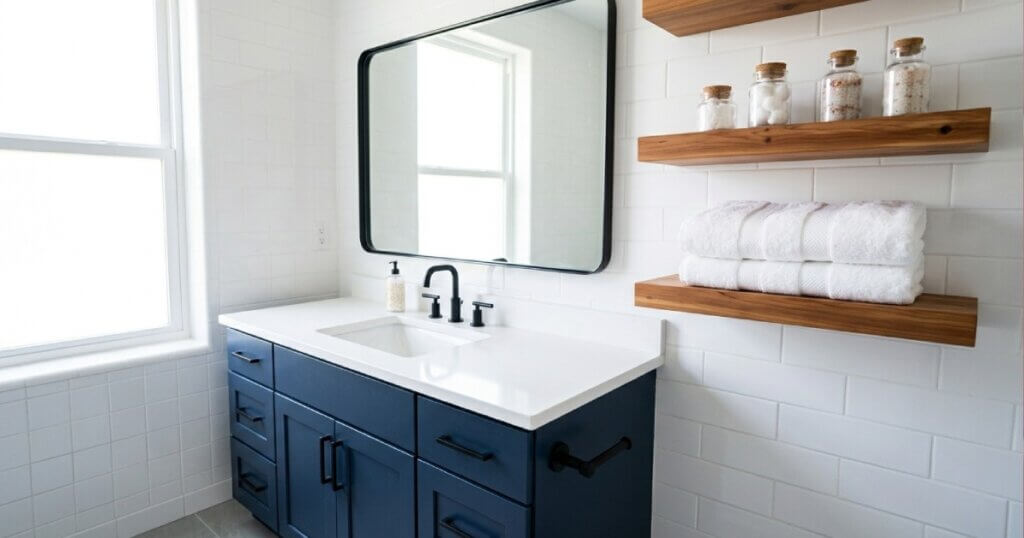
The Project Brief
A successful DIY bathroom remodel blends high-end interior design with moisture-resistant, data-driven execution. This hub provides workshop-tested methods for a complete makeover—safely mounting heavy mirrors, applying durable epoxy surface coatings, and building custom wood shelving. Skip the expensive contractor fees and execute a beautiful, long-lasting space.
While we specify PVC for the bathroom, this exact same linear spacing formula is used for standard MDF wainscoting in dry spaces. If you want to take these new carpentry skills out of the wet room and into your living spaces, you can find complete cut-lists in our master hub: Interior DIY Projects: Stop Overpaying Local Contractors
Our Philosophy: Engineering for the Wet Room
Unlike fluffy lifestyle blogs that focus purely on “aesthetic vibes” and decorative towels, our unspoken rule is prioritizing the mechanical and chemical realities of high-humidity environments. A beautiful cosmetic makeover is completely useless if the cabinet paint peels in three months, the caulking grows deep-rooted mildew, or the heavy statement mirror pulls directly out of the drywall.
We focus heavily on exact cure times for moisture-blocking primers, weight shear tolerances for drywall anchors, and the specific chemical differences between silicone and acrylic sealants. Our approach ensures that your DIY bathroom remodel actually survives the daily wear-and-tear of a wet room.
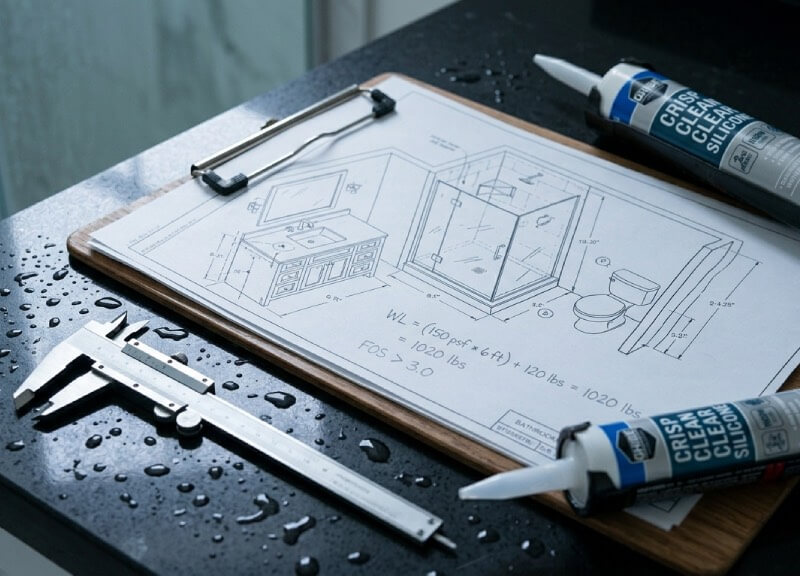
We also build our data by systematically debunking pervasive industry myths. You do not need to rip out outdated tile to modernize a space; in fact, data shows modern two-part epoxy paints have a 10+ year lifespan in high-humidity zones when the mechanical bond is prepared correctly. We also reject the “Permanent Seal” myth. Mildew-resistant caulks degrade both mechanically and chemically over time, requiring strictly tracked replacement cycles to prevent hidden water damage behind the walls.
Finally, we challenge the “Stud-Only” myth, proving through shear strength physics that heavy mirrors and custom floating shelves can be safely and securely anchored without ever hitting a wooden stud.
Moisture-Resistant Surface Upgrades
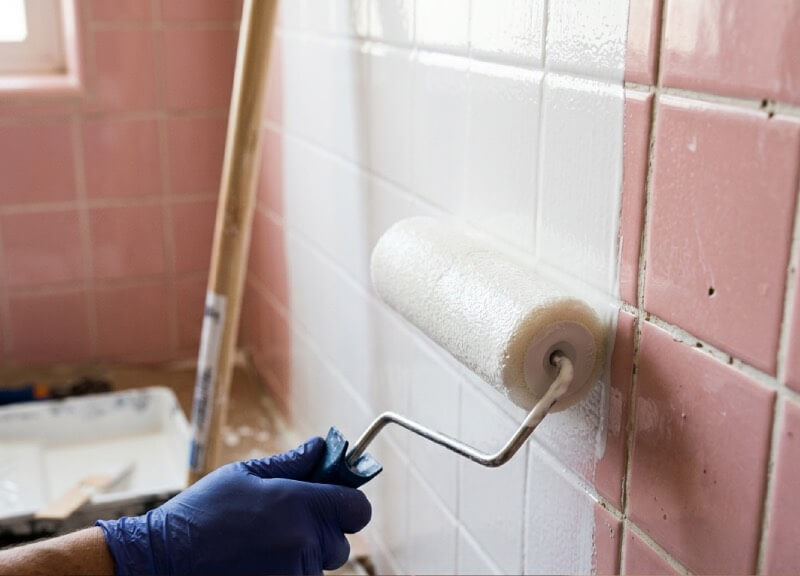
The foundational element of any budget makeover relies on managing aggressive moisture. Water vapor, condensation, and direct splash zones will rapidly destroy standard interior latex paints and traditional porous grouts. To combat this, we rely on heavy-duty chemical coatings, epoxy resins, and high-performance sealants that cure to a dense, impermeable finish.
Epoxy Tile and Tub Painting
Applying a new surface coating to a tub or shower surround requires strict adherence to chemical cure times, mil-thickness application, and temperature thresholds.
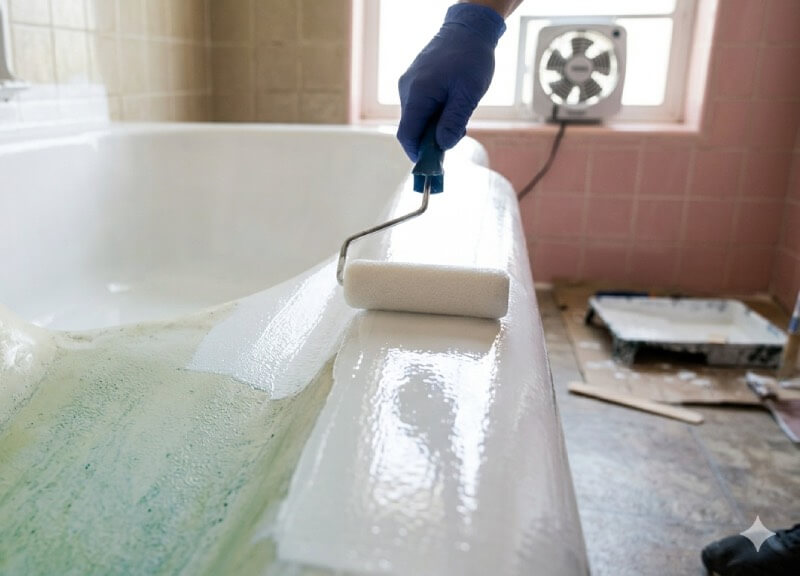
According to guidelines set by the Environmental Protection Agency (EPA) regarding indoor volatile organic compounds (VOCs), proper ventilation during the off-gassing of heavy epoxies is critical for both respiratory safety and achieving an optimal, hard-shell cure. Without the correct environmental controls, the epoxy can blush, peel, or fail to cross-link properly, ruining the entire makeover.
⚠️ Chemical Safety & Ventilation Protocol: Industrial two-part epoxies off-gas heavy volatile organic compounds (VOCs) during the application and curing phases. You must wear a half-face respirator equipped with organic vapor cartridges (standard N95 dust masks will not protect you from chemical fumes). Keep your bathroom exhaust fan running continuously and open any available windows to maintain active airflow until the compound has reached its primary cure time.
In our specific guides below, we cover:
- Exact prep-sanding grits and acid-etching solutions for achieving maximum mechanical adhesion on slick, glazed ceramic tile.
- Temperature and humidity thresholds required for two-part epoxy to cure completely without surface blushing, tackiness, or sagging.
- Cost-analysis breakdowns and longevity tests of refinishing versus completely replacing standard cast-iron and fiberglass tubs.
Caulking Degradation and Grout Renewal
Caulk is not a permanent fixture. Understanding the distinct chemical differences between 100% silicone, siliconized acrylic, and polyurethane sealants determines the actual lifespan of your shower corners and baseboards. Applying the wrong chemical formulation to a wet zone guarantees failure and eventual structural rot.
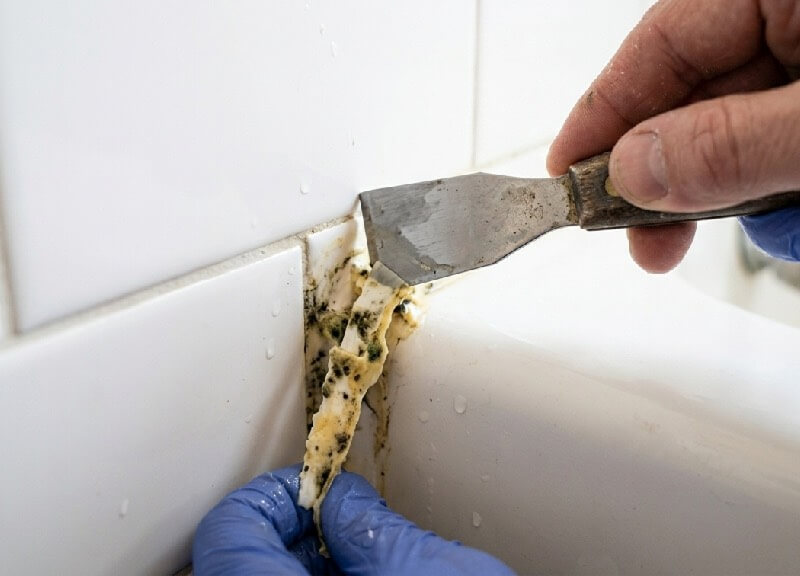
Explore our dedicated project breakdowns to find:
- The chemical breakdown rates of mildew-resistant biocides in premium silicone caulk and how to track them for replacement.
- Step-by-step scraping and solvent methods for mechanically removing failed silicone without scratching acrylic or fiberglass enclosures.
- Epoxy grout application techniques, dwell times, and sealing schedules for high-traffic, water-heavy zones.
| Sealant Type | Best Bathroom Application | Expected Lifespan | Cure Time Before Water | Shrinkage Rate |
|---|---|---|---|---|
| 100% Silicone | Shower corners, tub perimeters | 5–7 Years | 24–48 Hours | Minimal (<5%) |
| Siliconized Acrylic | Baseboards, dry-zone trim | 3–5 Years | 24 Hours | Moderate (10-15%) |
| Polyurethane | Concrete subfloor patching | 10+ Years | 7 Days | Very Low (<2%) |
Hardware & Safe Mounting
Swapping out vanity handles, updating showerheads, and hanging large statement mirrors can completely redesign a room’s aesthetic during a weekend DIY bathroom remodel. However, the bathroom presents unique mounting challenges due to hard tiled walls, hidden plumbing vents inside the wall cavities, and the constant expansion and contraction of building materials.
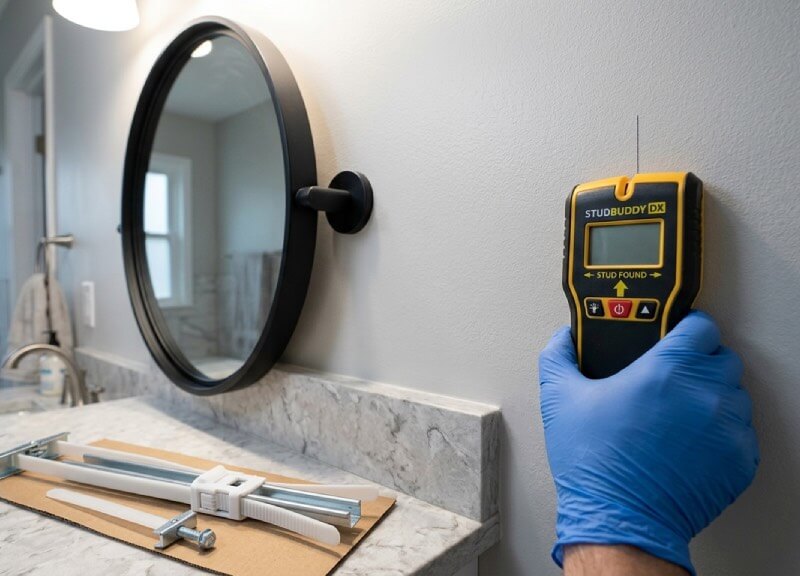
Anchoring Heavy Mirrors and Decor
The biggest roadblock DIYers face is hanging heavy items exactly where they want them for visual symmetry, rather than where the structural studs happen to dictate. We rely on shear strength data and advanced anchoring technology to safely mount heavy glass mirrors, medicine cabinets, and decor directly to drywall or tile.
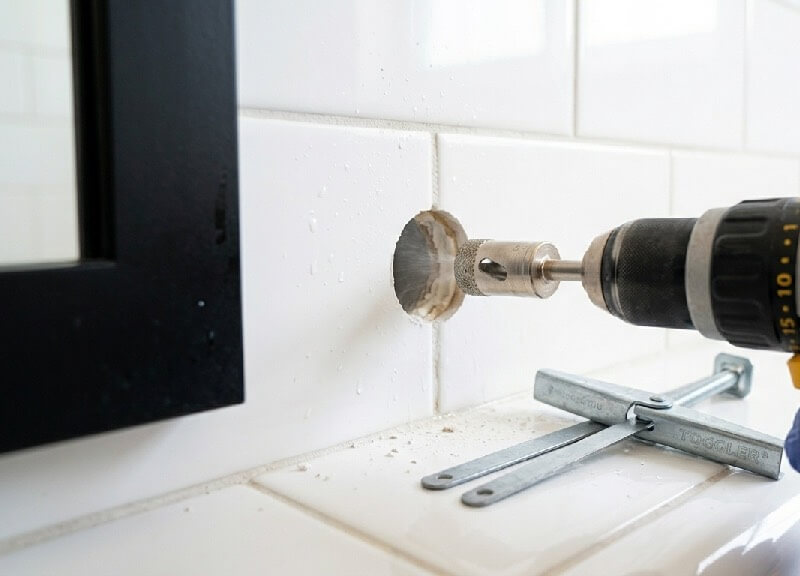
Inside these focused workshop modules, you will learn:
- Calculating the exact shear versus pull-out strength of strap toggles, threaded nylon drywall anchors, and traditional molly bolts.
- Safe, heat-managed drilling techniques and water-cooling methods for penetrating hard porcelain tile without cracking the surface glaze.
- Weight distribution math and hardware selection for hanging asymmetrical or frameless heavy mirrors securely over a vanity.
| Anchor Type | Wall Material | Max Weight (Shear) | Drill Bit Required | Reusability |
|---|---|---|---|---|
| Threaded Nylon | 1/2″ Drywall | 50 lbs | #2 Phillips | Low |
| Strap Toggle Bolt | 1/2″ Drywall | up to 238 lbs | 1/2″ Spade/Twist | High (Bolt only) |
| Diamond Tip Core | Porcelain Tile | Anchor Dependent | Diamond Hole Saw | N/A |
Fixture and Vanity Hardware Swaps
Upgrading functional hardware provides an exceptionally high return on investment for any makeover. While we strictly avoid deep-wall plumbing routing, changing a showerhead or swapping vanity pulls is a surface-level mechanical upgrade anyone can master safely.
As noted by industry data from Remodeling Magazine, minor cosmetic bathroom upgrades consistently yield a higher financial ROI upon home resale than major structural tear-downs.
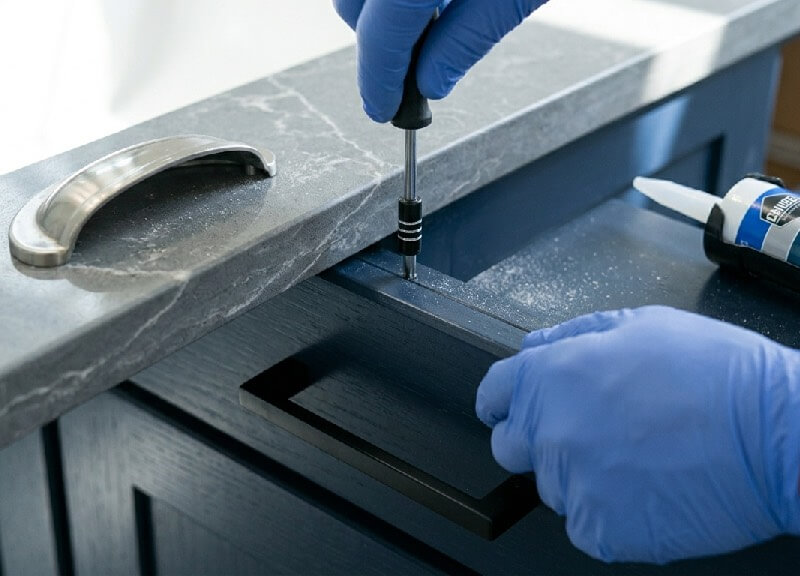
In our specific guides below, we cover:
- Precise measuring techniques and custom template drilling for perfectly aligned new cabinet hardware without splintering the wood.
- Thread pitch identification and Teflon tape wrapping protocols for replacing older shower arms and flanges without causing micro-leaks inside the wall.
- Understanding torque limitations when tightening metal fixtures to avoid cracking delicate porcelain sinks or ceramic tile backsplashes.
Hardware Base Metal Corrosion Index To prevent your new hardware from pitting or rusting within a year, you must verify the base metal beneath the finish. The high humidity of a wet room will rapidly oxidize cheap alloys if the thin outer plating gets scratched.
| Base Material | Cost Tier | Corrosion Resistance | Best Bathroom Application | Expected Lifespan |
|---|---|---|---|---|
| Solid Brass | High | Exceptional | Shower valves, primary faucets | 50+ Years |
| 304 Stainless Steel | Med-High | Excellent | Drawer pulls, towel bars, hinges | 20+ Years |
| Anodized Aluminum | Medium | Good | Frameless mirror brackets | 10+ Years |
| Zinc Alloy (Pot Metal) | Low | Poor | Decorative knobs only (dry zones) | 3–5 Years |
Custom Storage & Utility Builds
Maximizing storage in a small footprint requires smart, deliberate builds.
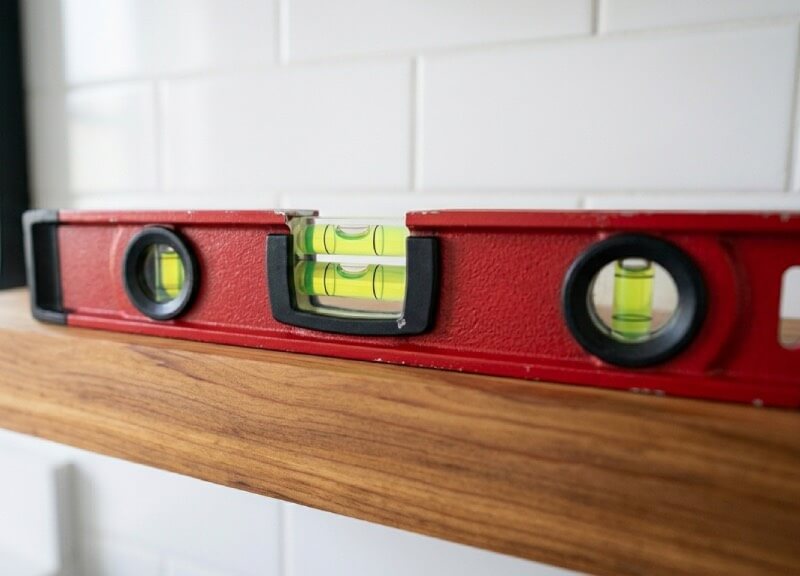
Whether it is adding structural floating shelves above a toilet or installing a custom board-and-batten accent wall to elevate the design, these woodworking projects must be engineered specifically to withstand daily humidity cycles.
Floating Shelves Over Tile
Installing load-bearing shelving over a tiled wall requires specialized heavy-duty hardware and masonry techniques to ensure the structure does not sag under the weight of heavy toiletries or glass jars.
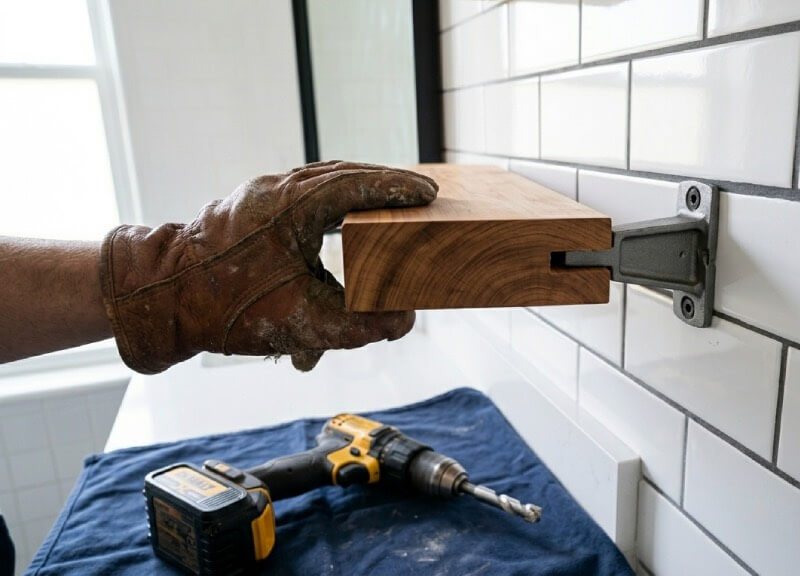
Our technical deep-dives for this section include:”
- Choosing blind shelf supports and bracket materials that will not succumb to galvanic corrosion or rust in a high-moisture environment.
- Sealing the drill penetrations behind the hidden shelf bracket with 100% silicone to prevent hidden water intrusion into the wall cavity.
- Selecting wood species (like western red cedar, teak, or white oak) that possess natural rot resistance and dimensional stability in damp environments.
Wood Species Dimensional Stability Data Selecting the wrong wood for a bathroom shelf guarantees warping and mold. We use the data below to select species that resist volumetric shrinkage and swelling when exposed to constant steam.
| Wood Species | Natural Rot Resistance | Moisture Movement (Warp Risk) | Janka Hardness | Ideal Wet Zone Sealer |
| Teak | Exceptional | Very Low | 1,155 lbf | Penetrating Tung Oil |
| Western Red Cedar | High | Low | 350 lbf | Spar Urethane |
| White Oak | High | Medium (Requires sealing) | 1,360 lbf | 2-Part Epoxy Sealer |
| Pine / Soft Maple | Low | High | Varies | Do Not Use in Wet Zones |
Board-and-Batten Moisture Math
Adding architectural trim like board-and-batten instantly elevates interior design and makes a builder-grade space feel like a high-end makeover. However, using standard MDF (Medium Density Fiberboard) in a bathroom is a recipe for swelling, delamination, and total failure.
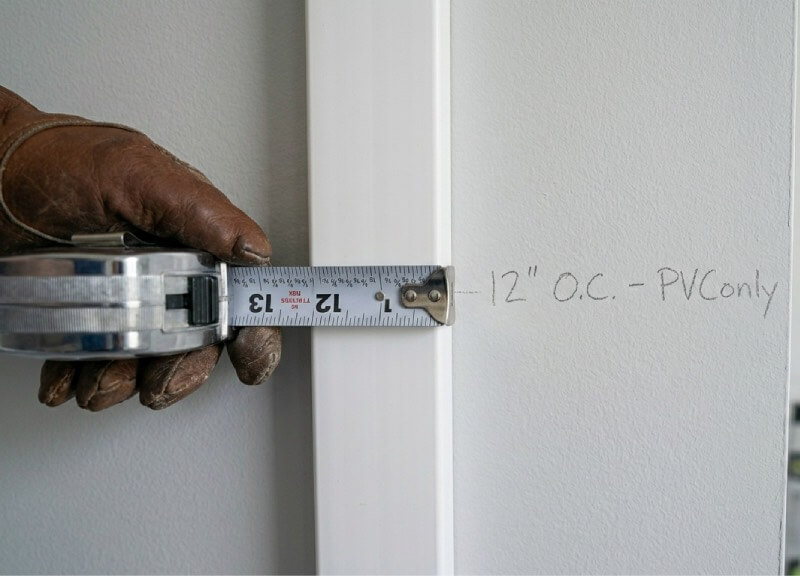
Following best practices and material guidelines outlined by the International Residential Code (IRC) for damp environments, we specify moisture-resistant materials for all millwork.
Dive into our exact execution protocols for:
- Calculating precise vertical batten spacing using linear math to avoid awkwardly intersecting with existing plumbing fixtures, outlets, or light switches.
- The absolute necessity of utilizing PVC trim or primed finger-jointed pine over standard porous MDF trim boards.
- Managing expansion gaps at the baseboard level and applying highly flexible siliconized acrylic caulk to properly account for the inevitable seasonal humidity shifts.
How to Calculate Linear Spacing
To ensure your vertical battens are perfectly spaced—and to calculate exactly where they will land before you start nailing, so you can avoid intersecting with GFCI outlets or plumbing lines—use this standard carpentry formula:
Board & Batten Spacing Calculator
S = [W – (N × w)] ÷ (N – 1)
The Variables:
- S = The exact spacing (gap) between each batten.
- W = Total width of your wall.
- w = Width of a single batten.
- N = Total number of vertical battens you plan to use.
The Math in Action: If you are trimming out a 120-inch bathroom wall (W) using 9 moisture-resistant PVC battens (N) that are 3 inches wide (w), your calculation looks like this:
- Calculate total batten width: 9 × 3 = 27 inches.
- Calculate remaining wall space: 120 – 27 = 93 inches.
- Divide by the number of spaces (N – 1): 93 ÷ 8 = 11.625 inches.
Your precise spacing between each batten will be exactly 11 5/8 inches. If that 11.625-inch layout forces a batten directly over your vanity light switch, you simply adjust your total batten count (N) up or down by one and recalculate to shift the layout safely away from the electrical box.
Essential Tools for a DIY Bathroom Remodel
Executing these data-driven, contractor-grade makeovers requires specific tools that go far beyond a basic household hammer and screwdriver set. Without a diamond core bit, you will fracture the tile’s surface glaze; standard masonry bits cannot handle dense porcelain
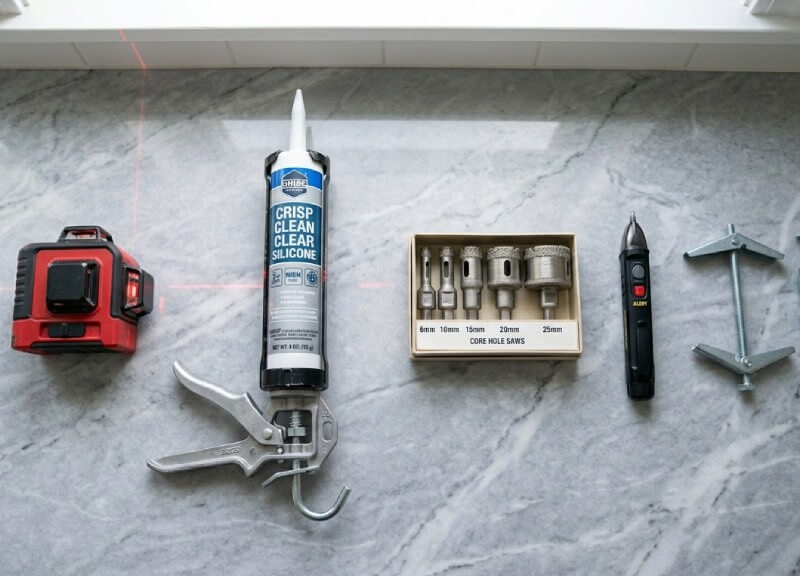
- Diamond Core Hole Saws: Absolutely essential for safely and cleanly drilling through dense ceramic and porcelain tile without fracturing the surface glaze or burning out standard masonry bits.
- Non-Contact Voltage Tester: A critical safety tool for verifying that the electrical power is completely cut off at the breaker before drilling into walls near vanity lights or GFCI outlets.
- High-Thrust Ratio Caulk Gun: Required for smoothly and evenly dispensing thick, heavy-duty 100% silicone and polyurethane adhesives without causing extreme hand fatigue or inconsistent, messy bead lines.
- Strap Toggle Anchors: The ultimate heavy-duty drywall fastener for securing large mirrors and floating vanities when wooden studs are completely inaccessible.
- Laser Level: Crucial for shooting perfectly straight, room-spanning lines when establishing the top rail for board-and-batten trim or aligning multiple cabinet pulls across a wide double vanity.
⚠️ Electrical Safety Protocol: When updating vanity lighting or working near GFCI outlets, never assume flipping the wall switch is sufficient. Always cut the power directly at the main circuit breaker. Use your non-contact voltage tester to definitively verify the line is dead before removing any faceplates or unscrewing wire nuts.
FAQ
Can you paint bathroom tiles without them peeling?
Yes, data shows modern two-part epoxy paints can last 10+ years in high-humidity zones when the surface is properly acid-etched and cured within specific temperature thresholds.
Do heavy bathroom mirrors need to be anchored to studs?
No. By calculating shear strength, you can safely use heavy-duty strap toggle bolts, which hold up to 238 lbs in standard 1/2-inch drywall without needing to hit a wooden stud.
How long does 100% silicone caulk last in a shower?
Do not treat 100% silicone caulk as a permanent fix; plan to replace it every 5 to 7 years before internal biocides degrade.
What is the best wood to use for bathroom floating shelves?
Western Red Cedar, Teak, and White Oak are the best choices for high-humidity environments due to their natural rot resistance and low volumetric moisture movement. Avoid standard MDF.
Can I upgrade my showerhead without shutting off the main water valve?
Yes. As long as you are only swapping the surface-level shower arm or showerhead, the water is already stopped at the mixing valve. Simply apply fresh Teflon tape to the threads.
Our commitment is to provide you with the exact formulas, load-bearing math, and material science required to execute your DIY bathroom remodel safely and effectively. Dive into the specific project guides above to begin your data-driven makeover.
Safety Disclaimer: DIY projects involve the use of power tools and materials that can cause injury. Always wear proper PPE (Personal Protective Equipment), read manufacturer safety manuals, and consult local building codes before modifying your home’s structure.

The Harvest Home Life Team is a collective of hands-on researchers and material evaluators dedicated to data-driven home improvement. Operating out of our active testing workshop, we deliver field-tested blueprints, rigorous tool diagnostics, and precise cut-lists. From calculating shear strength for load-bearing mounts to diagnosing structural deficiencies, we provide the objective data required to execute professional-grade DIY projects safely and effectively.