Project Brief
Mastering your DIY kitchen backsplash requires more than just a good eye for design. It requires a strict understanding of mortar chemistry, and layout mathematics. This guide provides the verifiable data and techniques needed to achieve a permanent, contractor-grade finish.
Which Backsplash Material is Right for Your Kitchen?
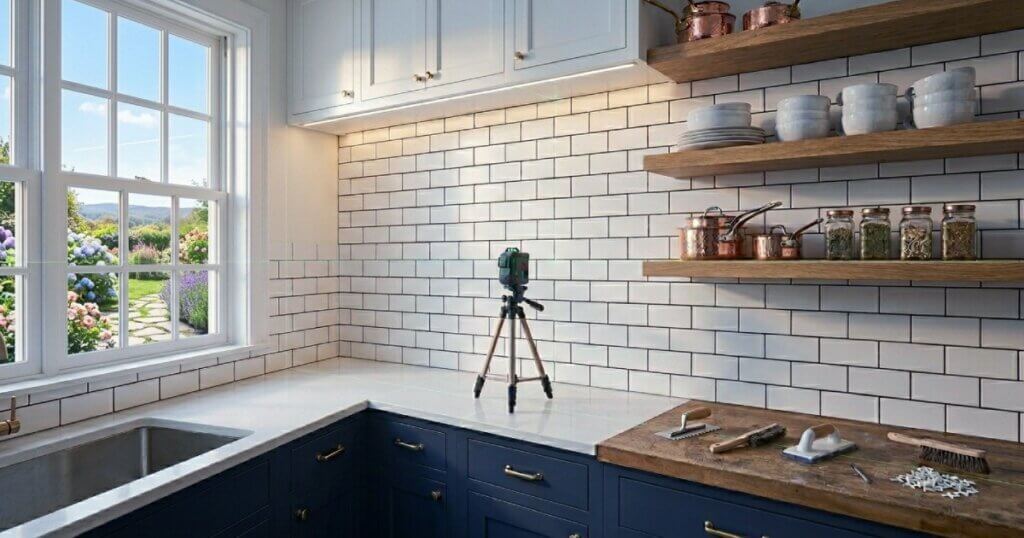
Before you pick up a trowel, you have to establish your baseline material. You cannot approach every backsplash the exact same way. Your material choice dictates how you will prep the wall, which specific adhesive chemistry you must use, and how you will seal the final product.
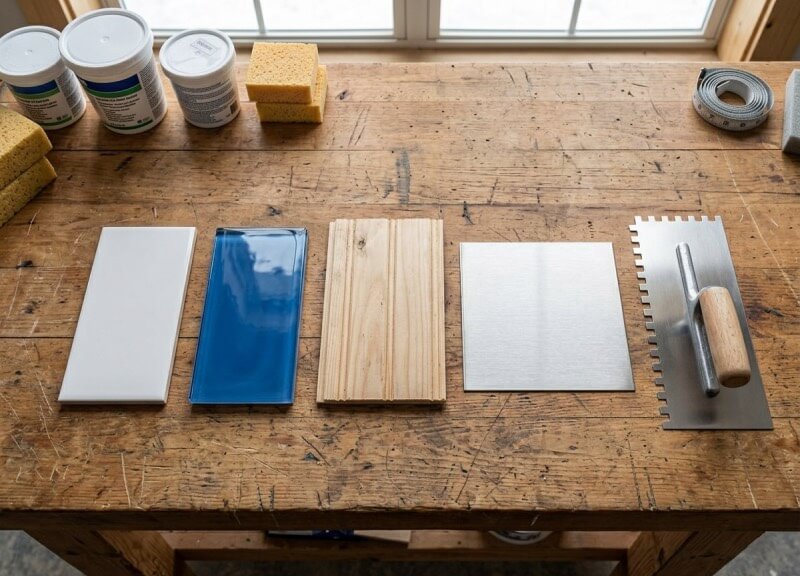
Ceramic & Porcelain Subway Tile
Ceramic and porcelain are the classic, budget-friendly standards for a reason. They are incredibly forgiving to cut with an entry-level snap cutter or wet saw. Furthermore, they provide a highly durable, heat-resistant surface behind your range.
Because the unglazed back of a ceramic tile is highly porous, standard cement-based thinset will deeply penetrate the ceramic pores, creating a rock-solid, permanent mechanical bond to your drywall.
Glass Backsplashes
Glass tile completely changes the installation chemistry. Because glass is non-porous and translucent, standard gray adhesives will fail structurally and look terrible visually.
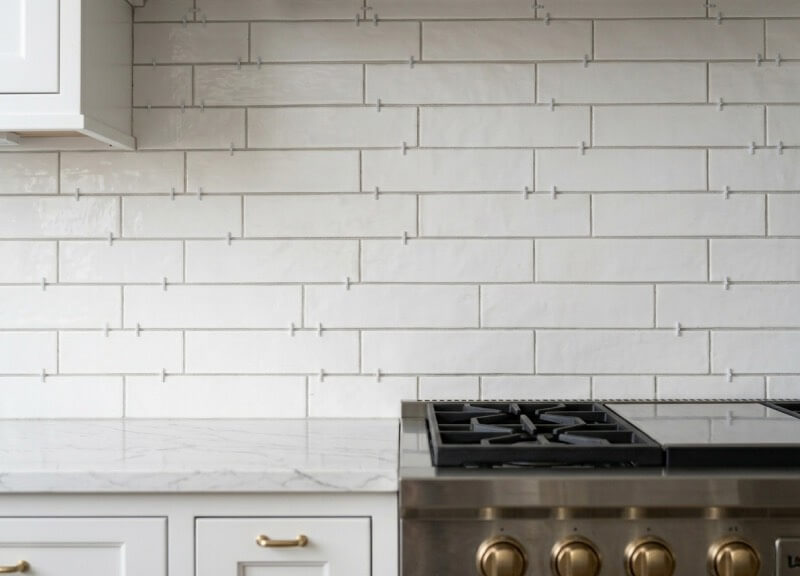
If you are installing glass, you absolutely must use a white, highly polymer-modified thinset.
The added latex polymers provide the necessary chemical grip to bond to the slick, non-porous glass surface. The stark white color ensures that muddy gray mortar lines do not visibly bleed through your expensive translucent tiles.
Wood & Stainless Steel Options
If you are moving away from traditional masonry and looking at modern beadboard, custom shiplap, or sleek stainless steel panels, your primary concern shifts from mortar types to fire codes.
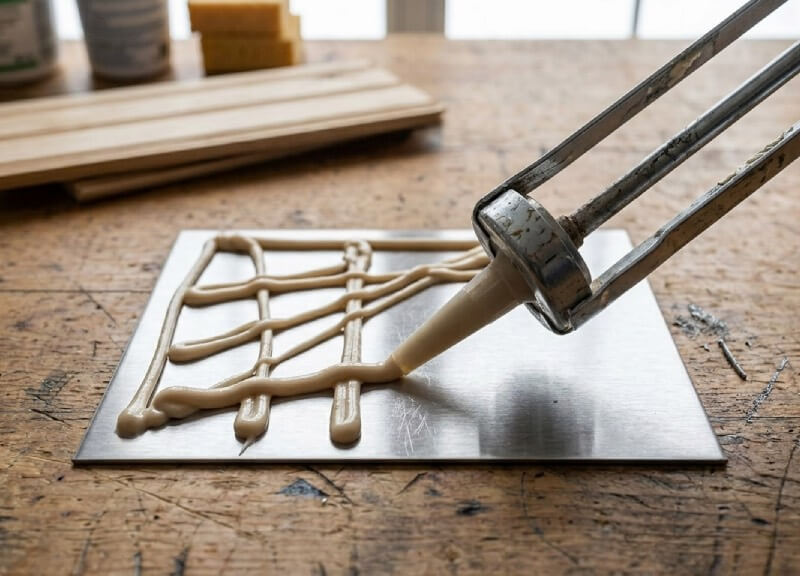
Wood is a highly combustible material. If you are running a wood backsplash directly behind a gas or electric range, you must strictly adhere to the International Residential Code (IRC) and your specific stove manufacturer’s required fire-code clearances.
Typically, combustible materials require a strict vertical clearance (often 30 inches) above the cooking surface. Stainless steel, while non-combustible, requires specialized polyurethane construction adhesives rather than cementitious thinset to securely bond the metal panels directly to the wall.
Mastic vs. Thinset: Why You Can’t Use Organic Glue Behind a Stove
A massive unspoken rule of surface-level kitchen upgrades is that longevity relies entirely on unseen chemistry.
The Danger of Pre-Mixed Mastic Re-Emulsifying
Many beginners buy pre-mixed mastic adhesive in a bucket because it seems convenient. However, mastic is an organic adhesive. While it air-dries to a firm hold in completely dry environments, it has a fatal flaw: it re-emulsifies.
When mastic is exposed to consistent moisture, high humidity, or heavy steam from a boiling stovetop, it absorbs the water and turns back into a mushy paste. If you use mastic behind a kitchen sink or range, your tiles will eventually sag, detach, and fall off the wall.
When to Use Unmodified vs. Polymer-Modified Portland Cement
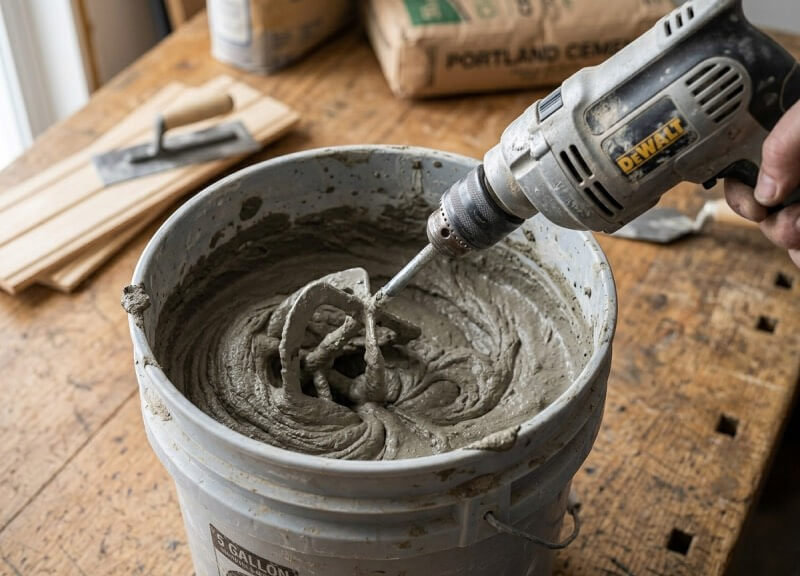
For a kitchen backsplash, you must use a Portland cement-based thinset. Unlike mastic, thinset cures via a chemical hydration reaction, meaning it hardens like concrete and becomes entirely impervious to heat and steam once fully cured (usually 24 to 72 hours).
- Unmodified Thinset: A standard blend of Portland cement, sand, and water-retaining agents. It is perfect for standard ceramic tiles over basic drywall.
- Modified Thinset: Contains powdered latex polymers. When mixed with water, these polymers dramatically increase the flexibility and sheer bond strength of the mortar. You must use modified thinset for glass, large-format porcelain, or when tiling over an existing dense surface.
| Adhesive Type | Composition | Moisture Resistance | Best Kitchen Application |
|---|---|---|---|
| Pre-Mixed Mastic | Organic glue | Very Poor (re-emulsifies) | Dry areas only (living room accents). |
| Standard Thinset | Cement-based powder | Excellent (cures rock hard) | General backsplash, standard ceramic tiles. |
| Modified Thinset | Cement + Latex Polymers | Superior (highly waterproof) | Glass tiles, non-porous porcelain, high-humidity zones. |
How to Keep Your First Row of Subway Tile Perfectly Level
Gravity is your biggest enemy during a tile installation. If your very first row of tile follows a sloped countertop, every single tile above it will be crooked, and the error will compound as you work your way up to the cabinets.
Finding Your Center Line and Setting the Ledger Board
Do not trust your countertops to be perfectly level. To guarantee a straight layout, find the absolute center of your wall and snap a vertical chalk line.
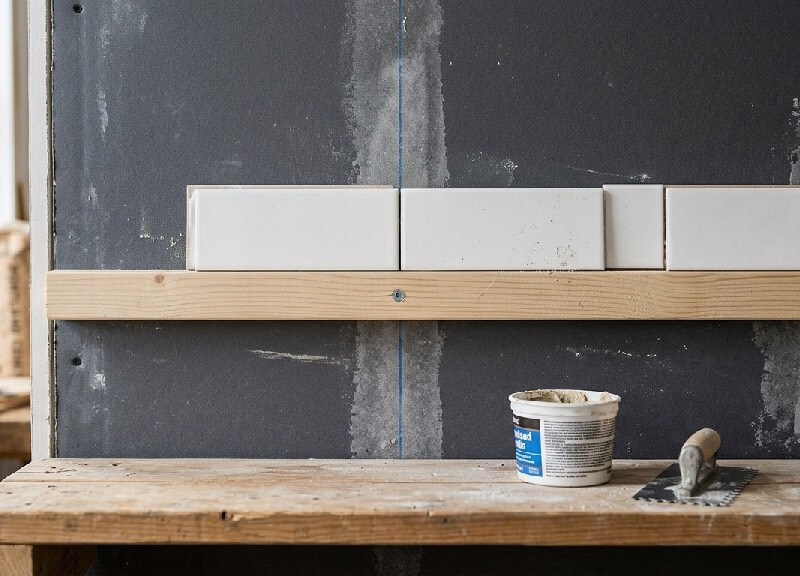
Then, measure up slightly higher than the height of one full tile from your lowest countertop point, and screw a perfectly straight piece of scrap wood (a ledger board) directly into the wall studs.
This temporary wooden shelf supports the weight of your first row of tiles, completely isolating your masonry grid from your unlevel countertops.
Using a Laser Level and 1/8-Inch Horseshoe Spacers
A self-leveling cross-line laser level is mandatory for a crisp finish. Project the red or green laser grid onto the wall to maintain strict horizontal and vertical alignment as you build your rows.
To guarantee consistent grout joints, use rigid 1/8-inch horseshoe spacers. Unlike rubber cross-spacers that compress under the weight of the tile, hard plastic horseshoe spacers maintain their exact structural dimensions, ensuring your grout lines remain identical from the counter to the ceiling.
The Right Notched Trowel Size for Maximum Adhesion
According to the Tile Council of North America (TCNA), the specific size of your trowel notch dictates how much adhesive transfers to the back of the tile. For standard 3×6-inch subway tiles, a 1/4″ x 1/4″ square-notched trowel provides the exact volume of mortar required.
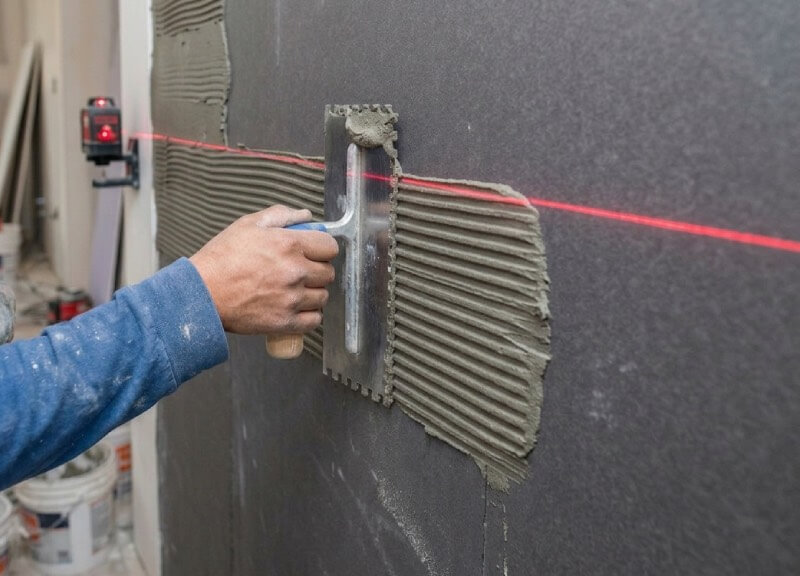
Always practice “directional troweling.” Do not swirl the mortar on the wall in circles. Comb the thinset in straight, horizontal lines.
When you press the tile into the mortar, the straight ridges collapse evenly, pushing the trapped air out of the channels and achieving the necessary 80% to 95% mortar coverage.
Grout and Sealant Protocols: Preventing Tomato Sauce Stains
Once your thinset has cured for at least 24 hours, you must lock the grid together with grout.
Sanded vs. Unsanded Grout
Choosing the wrong grout will either scratch your tiles or cause the grout lines to crack and crumble. The unspoken industry rule is entirely based on the width of your spacers:
| Grout Type | Joint Width | Structural Properties | Best Material Application |
|---|---|---|---|
| Unsanded Grout | 1/8-inch or smaller | Smooth texture with no aggregate. Prevents scratching during application. | Delicate surfaces like glass, polished marble, or metal panels. |
| Sanded Grout | Wider than 1/8-inch | Contains fine silica sand aggregate. Provides structural integrity to prevent shrinking and cracking as it dries. | Standard ceramic or porcelain tiles with wide masonry gaps. |
Applying Penetrating Sealers to High-Splash Zones
Cement-based grout is inherently porous. If a pot of tomato sauce splatters against unsealed white grout, the pigment will soak deeply into the pores and permanently stain the installation.
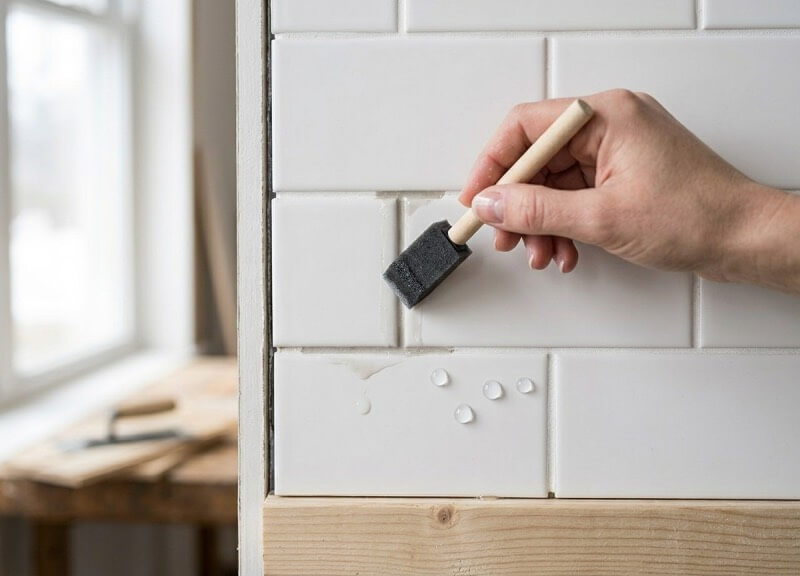
After your grout cures for 48 to 72 hours, you must apply a silane or siloxane penetrating sealer.
Unlike topical sealers that sit on the surface and peel off over time, penetrating sealers absorb directly into the cement, forming an invisible hydrophobic barrier that forces liquids to bead up on the surface for easy wiping.
Essential Tools for this Category

Executing proper material selection and layout math requires a specific set of workshop tools. Avoid cheap, disposable kits and invest in the following baseline equipment to guarantee your installation goes smoothly:
| Specialty Tool | Project Application |
|---|---|
| Self-Leveling Cross-Line Laser | Establishes a perfect, gravity-defying grid before placing your first tile. |
| Square-Notched Trowel (1/4″ x 1/4″) | Ensures the exact 80% to 95% mortar coverage required for standard subway tile. |
| Diamond-Grit Drill Bits | Safely bores holes through fired ceramic or porcelain without cracking the surrounding tile. |
| High-Speed Grout Mixer Attachment | Chucks into a power drill to whip Portland cement and water into a flawless, clump-free peanut butter consistency. |
FAQ
Q: Can I install a backsplash directly over painted drywall?
Yes, standard painted drywall is perfectly fine for a kitchen backsplash, provided it is clean, dry, and not peeling. You do not need to install heavy cement board unless you are tiling a high-moisture area like a shower. If your kitchen walls have high-gloss paint, simply scuff the surface lightly with sandpaper to ensure the thinset achieves a permanent mechanical bond.
Q: How long do I have to wait before applying grout?
You must wait a minimum of 24 to 48 hours after setting your tile. Thinset cures through a chemical reaction that requires air flow. If you seal the joints with grout too early, you trap moisture behind the tiles, preventing the mortar from fully curing and increasing the risk of your tiles shifting.
Q: Should I use grout or caulk where the tile meets the countertop?
Always use a color-matched 100% silicone caulk for that bottom joint, never grout. Your lower cabinets, countertops, and floor joists will naturally expand and settle over time. Grout is completely rigid and will crack along that bottom seam within a few months, while silicone flexes to absorb the movement.
Q: How much extra tile should I buy to account for waste?
The golden rule of DIY tiling is to add 10% to your total square footage to cover edge cuts, accidental breakage, and pattern alignment. If you are laying the tile in a complex, angle-heavy layout like a herringbone pattern, increase that safety buffer to 15% or 20%.
Completing your backsplash and lighting is a critical phase of a kitchen renovation, but it is only one part of the equation. If you are planning to upgrade your cabinet molding, replace your flooring, or restructure your layout, you need a data-backed plan. Find our complete collection of step-by-step guides, material specifications, and budgeting formulas in our master directory: [DIY Kitchen Remodel Ideas: Stop Overpaying Pros].
Safety Disclaimer: DIY projects involve the use of power tools and materials that can cause injury. Always wear proper PPE (Personal Protective Equipment), read manufacturer safety manuals, and consult local building codes before modifying your home’s structure.

The Harvest Home Life Team is a collective of hands-on researchers and material evaluators dedicated to data-driven home improvement. Operating out of our active testing workshop, we deliver field-tested blueprints, rigorous tool diagnostics, and precise cut-lists. From calculating shear strength for load-bearing mounts to diagnosing structural deficiencies, we provide the objective data required to execute professional-grade DIY projects safely and effectively.